This dress has tested me in many ways, and some of it was totally my fault, based on my material choice, which was a stretch satin material I sourced from Pound Fabrics. It was a slippery nightmare, that stressed me out no end. I used this as it was cheap, it was my first try of this design and I wasn't sure if I particularly liked the elastic waist of the dress. Even having done the maxi dress with one, I still wasn't convinced they suited me as I don't have very obvious curves at the waist. I'm generally a size 10(ish) and normally have to do a FBA - I was hoping to get away without the FBA as there are no side darts in this around the boobs, but those waist darts did look like they might be an issue, but I think I got away with it.
I used a knits needle and standard straight stitch for most of the sewing. My twin needle did not work with this material, and kept skipping stitches, so I didn't use it - but I also didn't bother using the zig zag stitch, except to fix the elastic and to fix the facings together. This project really made me think about the benefits of an overlocker, except the amount of unpicking I did would not have been possible/ as easy as it would have cut material I then needed :D.
The one benefit of doing this dress was that it came with a more detailed set of user instructions (https://www.burdastyle.com/blog/sewing-lesson-104b-pleated-jersey-dress-062019#read-on)
Modifications
I had to modify the following bits of the pattern:
- I had to make the back smaller as I have a very narrow back, I did this by drawing out the main pattern and then pinning the piece to my body form focusing on the fit by the armholes, I then folded the extra material over where it went over the centre of the body form. I pinned it back and then used that to trace around. Issue: This meant I didn't actually have much room in the back when I finished for some reason, which means with this material you can see the bra strap adjuster thing.
- I then had to modify the back skirt piece to fit the new back piece, I did this the same as above
- I do have a sway back that I didn't adjust for originally, I did have to do this when I put it all together as otherwise the back just hung wrong, and it really looked awful. I modified this on the fly by pulling the back of the skirt up into a slight hill in the centre of the back. I then had to make sure that this didn't affect the length of the skirt, which was ok as I have a flatish bum so it all evened out in the end.
So what did I do and where did I struggle?
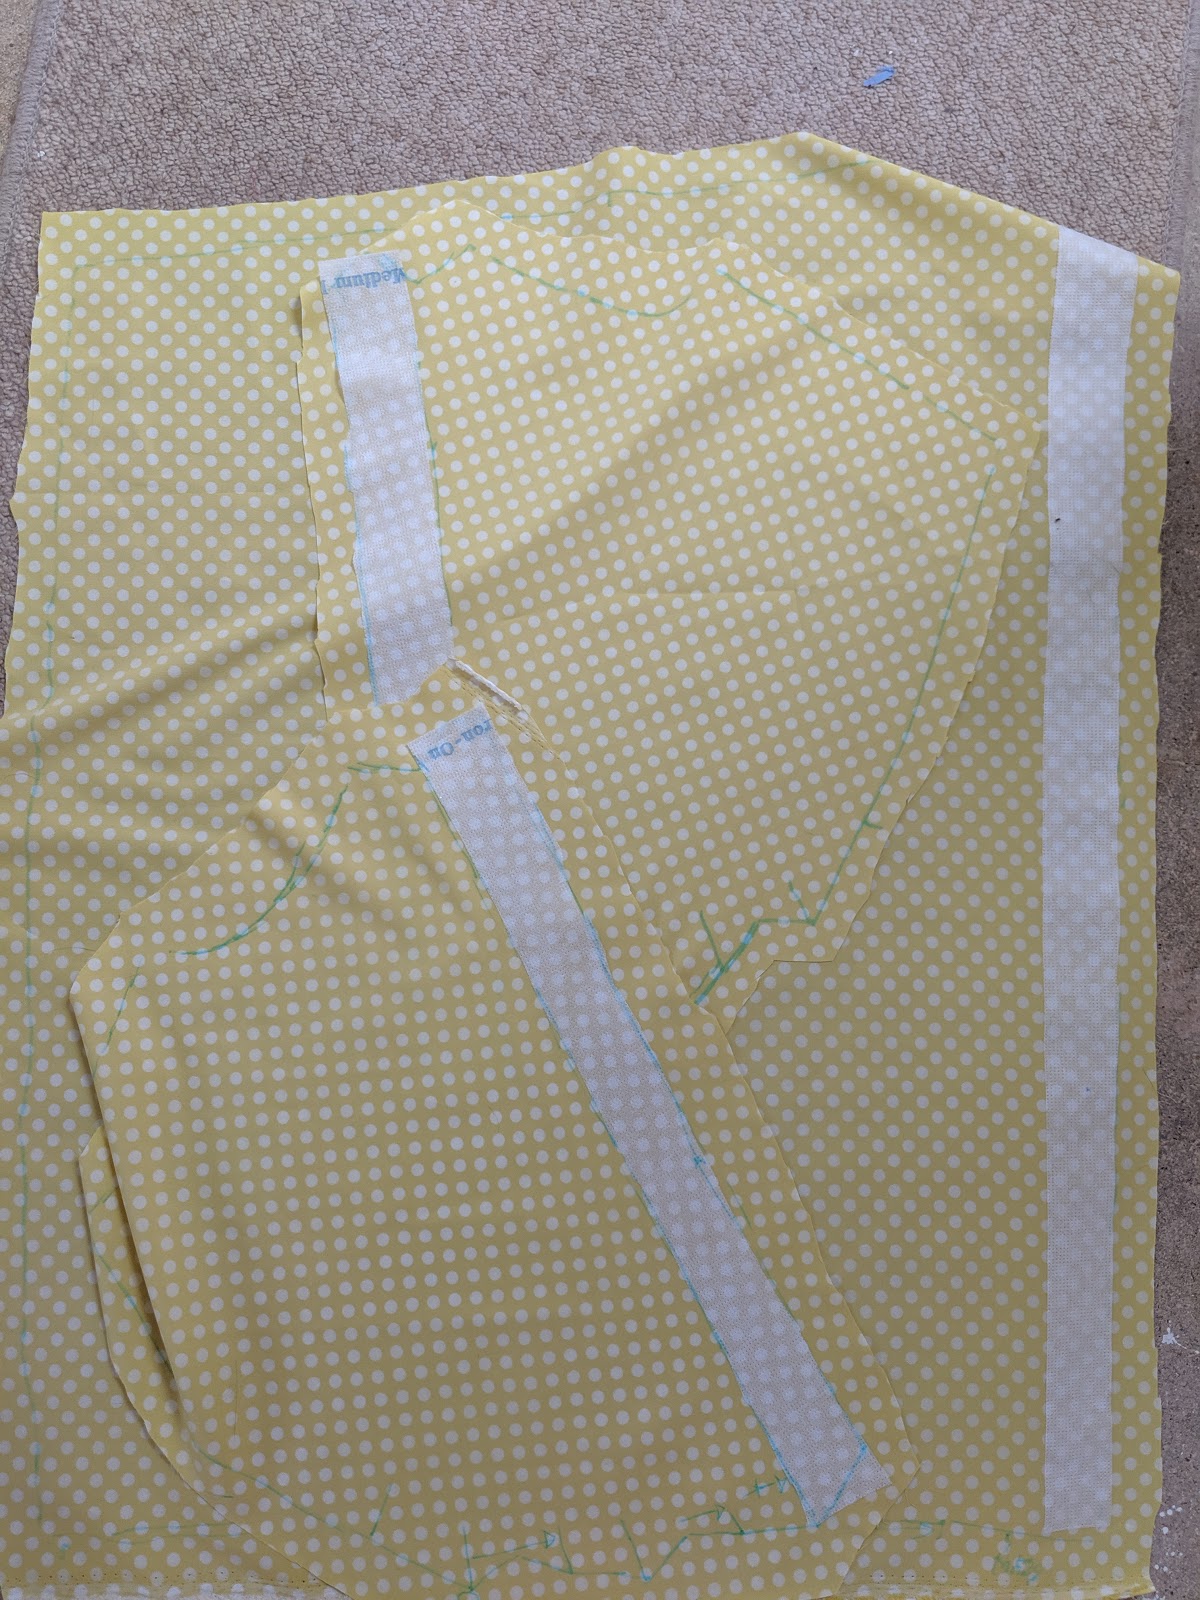
Easy: Putting on the interfacing
 |
| Adding the interfacing |
This was the easiest step but I took a photo just in case - and to remind me that I need to cut the interfacing out (they are part of the larger pattern pieces and I didn't notice interfacing on the first page of instructions).
Easy: Stay Tape
I didn't have any stay tape and didn't want to wait to start the project, so I found this How To guide that helped me make my own. It was easy to do, which was a relief
Easy: Side seams & arm holes
The side seams went together very well, but I did get some bunching when doing the armholes. If I really wanted I could have unpicked and tried again, but on testing it on my bodyform it looked ok. To reduce this from happening I probably should have used more pins and a slightly bigger stitch (around 3mm rather than the standard 2.2)
 |
| the bunching at the armholes. |
 |
| The only bit where I finished the seams nicely! |
Medium: Making and Connecting the straps to the front piece
 |
| Sewing up the strap |
For some reason the measurements for the strap didn't feel right, or fit with what I was expecting. So I tweaked the size and wrote the measurements that I finally settled on on the strap itself for the photo.
These straps were much too long for me when getting the fit right on the dress in later steps they ended up being around 12 cms long - so at this point only sew up one side catching the elastic to the material.
 |
| I hate making cuts into materials |
Although the instructions were fairly straight forward I did manage to put the strap the wrong side around the first time I did it, and then with a the seam to the side, I eventually got it correct for the photo. I also needed to baste stitch (5mm stitch length) it in to make sure it was at the right angle when sewn up. Also if this doesn't go right when you put the dress on the facings open up and it all needs rearranging. One thing to note at this point when you try the top on it doesn't look the best, for some reason without the skirt to sort it out it just doesn't look how it does at the end and looks like it will be really saggy at the boobs, but with adjusting the straps and the skirt to balance it out it does come together.
Medium: Side seams of the dress
I don't know why and I tried a side with seam tape and a side without but however I tried I got the bunching that I had with the armholes. It looks a worse when not worn and in the end I just gave up. I think it would have helped to have either an overlocker or a walking foot, but I just think, at this point, the fabric truly hates me. I am feeling that right back too. I was very annoyed that the seam tape didn't do the trick to be honest.
Hard: Joining the skirt to the bodice (the Matching the folds)
Oh god this was awful, at stage thirteen I recommend tacking the top to the bottom at the seams and the folds and making sure they line up. Even when I thought they would, they didn't. This also lets you try it on and see how the folds line up and get a general feel for the way the back looks. This was very important for me, as I hadn't really given my sway back much thought as it's only what I would call a little sway and I figured that the way the waist was would sort it out. It didn't material was bunching and hanging around my waist in a very weird way. I had to pull the material up on the skirt so it curved into the middle. Seemed to work. I am sure there is a lovely scientific guide to doing it properly but by this point in the process I just wanted the whole experience to be over.
 |
| The ad-hoc buggerit swayback adjustment |
Hemming
The hem was, a nightmare where the front overlapped piece met the rest of the dress. I almost think it would have been better to hem that piece earlier, before it joins the side seams. It also bunched up as I sewed, due to the fact that it had a curve in it and I had turned it over once at 0.5" and then again an inch so that it had a slightly nicer finish inside. I had to unpick and then use LOTS of pins to make sure that the bunching didn't happen as badly the second attempt.
 |
| The final product 😁 |


Comments
Post a Comment